Contents
After a washing machine hose bursts in your laundry room, you need to act fast: shut off power, stop the leak, and move anything salvageable out of the water. From there, you’ll remove standing water, dry hidden moisture, sanitize affected surfaces, and decide what can be repaired versus replaced. The right sequence matters, because a missed water damage restoration step can turn a clean-up into a costly structural problem.
Key Takeaways
- Shut off electricity and the water source, then move people and valuables away from the affected area.
- Document damage with photos and notes for insurance before starting cleanup.
- Remove standing water, wet contents, and contaminated materials using pumps, vacs, and containment.
- Dry the structure with dehumidifiers, air movers, and moisture checks until all areas are fully dry.
- Disinfect surfaces, control humidity below 50%, and repair damaged drywall, flooring, and trim.
Take These First Steps After Water Damage
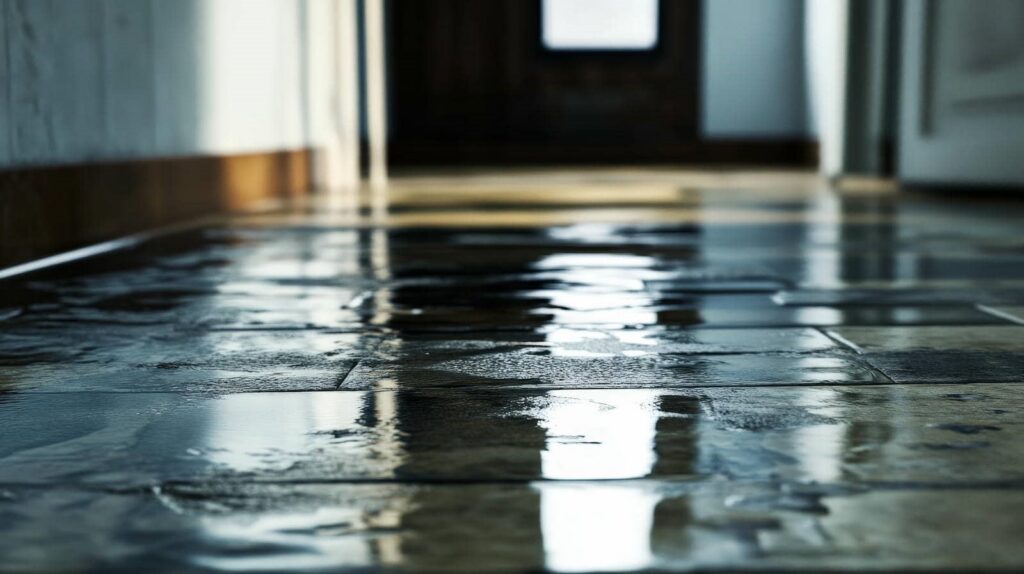
Right after water damage, your first priority is safety: shut off electricity to affected areas if you can do so without entering standing water, stop the source of the leak if possible, and move people and valuables out of harm’s way.
Next, document the damage with photos and short notes for insurance and for your water damage restoration team.
Ventilate the space by opening windows and running fans only if the area’s safe and power’s available.
Remove loose items, rugs, and lightweight furniture to limit staining and moisture spread.
If you find wet insulation, sagging ceilings, or contaminated water, don’t touch them; mark the area and wait for trained help.
Act quickly, stay calm, and follow a clear plan so your home and community can recover together.
Water Damage Restoration Steps
Once you’ve secured the area and documented the loss, the water damage restoration process can begin with a structured response plan.
You should assess affected materials, classify contamination risk, and separate salvageable items from items that need disposal.
Next, your team should remove wet contents, protect clean zones, and set up containment to limit cross contamination.
You’ll then deploy dehumidifiers, air movers, and moisture meters to dry framing, subfloors, and wall cavities to target levels.
Keep monitoring readings, adjust equipment, and verify progress daily.
Once materials reach acceptable moisture content, you can clean, disinfect, and restore finishes.
When you follow each step methodically, you protect the structure, reduce secondary damage, and move your property back to a safe, familiar place.
Stop the Leak and Remove Standing Water
Shut off the water source immediately and stop active intrusion before you do anything else. If you’re part of a restoration crew or handling the loss yourself, isolate the break, close the main valve, and cut power to affected circuits if needed.
Then remove standing water fast with pumps, wet vacs, mops, and absorbent towels. Work from the outer edges toward the deepest area so you don’t spread contamination. Keep the space organized and safe:
- Place buckets under active drips.
- Lift rugs, furniture legs, and loose items out of pooled water.
- Use squeegees to guide water toward a drain or extraction point.
Quick removal limits further saturation and helps your team stay in control. Document conditions as you go, and wear protective gear when water may be contaminated.
Dry Walls, Floors, and Hidden Moisture
After bulk water is removed, dry the structure immediately to prevent swelling, warping, mold growth, and hidden moisture damage.
You should open cavities, lift wet flooring where needed, and run air movers and dehumidifiers to pull moisture from walls, subfloors, and trim.
Check baseboards, insulation, and drywall edges for dampness, because surface dryness can hide trapped water.
Use a moisture meter to verify readings in several spots, and compare them with unaffected areas.
Keep airflow steady and temperature controlled so materials dry evenly.
If you’re working with a restoration team, stay informed and ask for drying logs; they help you know progress and build confidence in the process.
Finish only when measurements confirm the structure has returned to normal conditions.
Sanitize the Area and Prevent Mold
You should disinfect all affected surfaces with an appropriate antimicrobial cleaner after drying is complete.
Focus on high-contact areas, porous materials, and any spots that held contaminated water.
Then keep indoor humidity low and monitor for residual moisture so you can control mold growth before it starts.
Disinfect Affected Surfaces
Disinfect all affected surfaces with an EPA-registered sanitizer once visible moisture, debris, and contaminated materials are removed. You’ll reduce microbial load and reset the space for safe use.
Follow label directions exactly for dilution, contact time, and ventilation, and wear gloves and eye protection while you work. Apply the solution evenly to hard, nonporous materials, then let it stay wet for the full required dwell time before wiping or air-drying.
- Countertops, cabinet faces, and trim
- Tile, sealed flooring, and appliance exteriors
- Door handles, switches, and other touchpoints
You’re restoring more than surfaces; you’re helping your home feel trustworthy again.
Keep clean tools separate from contaminated ones, and replace cloths when they become soiled.
Control Mold Growth
Once the affected surfaces are sanitized, focus on stopping mold before it takes hold. You need to keep humidity below 50% with dehumidifiers, fans, and open air pathways.
Remove wet insulation, drywall, carpet padding, and porous items that can’t be fully dried. Inspect hidden cavities, baseboards, and HVAC returns, because spores often spread there first. If materials stay damp longer than 24 to 48 hours, treat them as high risk and remove them.
Seal cleaned areas with dry barriers, and don’t store salvageable items against wet walls. Wear gloves, an N95 respirator, and eye protection while you work.
Track moisture with a meter until readings match unaffected rooms. When you control moisture now, you protect your space and help everyone in it feel safe.
Repair and Restore Your Property
You’ll need to repair damaged framing, drywall, flooring, and insulation to restore the structure to its original load-bearing and functional condition.
After the structural work is complete, replace trim, paint, and other finishes to match the surrounding materials and seal exposed surfaces.
Inspect each repair for alignment, moisture stability, and proper fit so the restored area performs correctly.
Structural Repairs
After drying is complete, structural repairs restore the property to safe, usable condition. You’ll replace compromised framing, sister weakened joists, and resecure subfloors so loads transfer correctly.
A qualified contractor checks for warping, corrosion, and hidden decay before they rebuild damaged sections to code. You should expect fasteners, adhesives, and approved lumber or steel to match the original assembly.
Working with a restoration team helps you feel grounded, because each repair supports your home’s strength and your household’s routine.
- Cut out rotted wall studs
- Reinforce floor systems with new supports
- Seal repaired areas against future intrusion
Finishing Touches
Finishing touches complete the restoration and return the space to normal use. You’ll reinstall trim, seal joints, and patch paint so repaired areas blend cleanly with surrounding finishes.
Check flooring connections, cabinet alignment, and door operation to confirm moisture didn’t leave hidden warping. Replace damaged insulation, outlet covers, and fixtures, then test lighting, plumbing, and HVAC components before you call the job done.
Use low-VOC paints and matched materials to keep indoor air quality stable and the result cohesive.
Finally, clean dust, sanitize touchpoints, and inspect every room with your contractor so you can spot missed defects early. These last steps protect your investment and help your home feel whole again, safe, familiar, and ready for daily life.
Frequently Asked Questions
How Do I File an Insurance Claim for Water Damage?
You file by contacting your insurer, documenting damage with photos, listing affected items, and submitting receipts. Then you’ll meet the adjuster, follow mitigation instructions, and keep every record to support your claim.
Should I Replace Drywall After Minor Water Exposure?
You don’t always need to replace drywall after minor water exposure. You should inspect for swelling, soft spots, and mold, then dry it fast. If damage persists, cut out and replace the affected section.
How Long Does Water Damage Restoration Usually Take?
Usually, you’ll need 3–7 days for drying, then repairs may add weeks. Don’t assume faster is safer; you’ll want moisture checks, dehumidification, and targeted rebuilding so your home feels truly restored.
Is It Safe to Stay in the House During Cleanup?
Usually, you shouldn’t stay in the house during cleanup if water involved sewage, contaminated materials, or active demolition. You’ll face mold, electrical hazards, and dust. Ask the restoration team when it’s safe to return.
What Signs Show Hidden Water Damage Behind Walls?
You’ll notice hidden water damage behind walls when paint bubbles, baseboards swell, musty odors linger, drywall stains spread, or meters show moisture; about 98% of basements experience some water intrusion, so inspect quickly and thoroughly.
Conclusion
Water damage can feel like a tidal wave, but if you act fast, you can stop it from becoming a disaster. Shut off the source, remove standing water, dry every surface, and sanitize thoroughly to reduce mold risk. Inspect damaged materials carefully, then repair and restore only what is safe to keep. When you follow each step in order, you protect your property, your health, and your peace of mind with precision and confidence.
Recent Posts
Flood Damage Repair Vs Water Damage Restoration Explained
If a burst pipe soaks your basement overnight, you may need water damage restoration; if
When To Hire Professional Flood Damage Repair Services
If you notice standing water, soaked materials, or a persistent musty smell, you may need
Flood Damage Repair Insurance Claims: How The Process Works
When floodwater hits your home, you need to move fast and document everything before cleanup