Contents
When faced with a sewage backup, it’s crucial to act swiftly yet cautiously. But what if you could handle the restoration process efficiently on your own? Imagine having the knowledge and tools to tackle this intimidating task head-on. From initial safety measures to final cleanup, this DIY guide equips you with the steps needed to restore your home to its former state. Stay tuned to discover how you can effectively manage this challenging situation without the need for immediate professional assistance.
Key Takeaways
- Wear protective gear: gloves, boots, goggles, mask.
- Remove standing water with wet vacuums or pumps.
- Disinfect the area with bleach solution for safety.
- Repair pipes and consider backwater valves and sump pumps.
- Prevent future backups with regular drain maintenance.
Safety Precautions
When dealing with sewage backup restoration, prioritizing safety precautions is vital to protect yourself and others from potential health hazards. Before beginning any restoration work, confirm you have the appropriate protective gear. This includes wearing rubber gloves, waterproof boots, safety goggles, and a mask to prevent exposure to harmful bacteria and pathogens present in sewage.
Chemical safety is paramount during sewage backup restoration. Avoid mixing cleaning agents, as this can produce toxic fumes. Additionally, never use bleach in combination with ammonia-based products, as this can create a dangerous chemical reaction. Always read and follow the instructions on cleaning products carefully to prevent accidents or injuries.
When working in areas affected by sewage backup, be cautious of electrical hazards. Confirm that all power sources are turned off before entering the area to prevent the risk of electric shock. Use battery-powered lights instead of candles or lanterns to avoid potential fire hazards in areas with sewage residue.
Proper ventilation is vital when working in enclosed spaces during sewage cleanup. Open windows and doors to allow fresh air to circulate, and wear a respirator mask to avoid inhaling harmful gases.
Remember to wash your hands thoroughly with soap and water after completing the restoration work to prevent the spread of contaminants. By following these safety precautions diligently, you can minimize the risks associated with sewage backup restoration.
Assessing the Damage
To properly initiate the sewage backup restoration process, the first essential step is evaluating the extent of the damage caused by the backup. Conducting a thorough damage assessment is vital to determine the scope of work needed for restoration.
Begin by performing a visual inspection of the affected area. Look for signs of water damage, such as discoloration on walls, floors, or ceilings, and any visible sewage residue. Check for any structural damage that may have occurred due to the backup. Pay attention to the smell in the area, as the presence of a foul odor indicates contamination that needs to be addressed promptly.
During the visual inspection, take note of any items that have been affected by the sewage backup. This could include furniture, carpets, personal belongings, and electronics. Evaluate the level of exposure and damage to these items to determine what can be salvaged and what needs to be discarded.
Document the damage with photographs for insurance purposes and to track the progress of the restoration process.
Removing Standing Water
After completing the assessment of the sewage backup damage, the next critical step is addressing the standing water in the affected area. Standing water can come from various sources during a sewage backup, such as broken pipes, overflowing toilets, or drainage issues.
To prevent further damage and health risks, it’s vital to remove this standing water promptly.
To start, verify your safety by wearing protective gear such as rubber boots and gloves before entering the affected area.
Begin by using a wet vacuum, available for rent at most hardware stores, to extract the standing water. Make sure to empty the vacuum frequently to maintain its effectiveness.
If the standing water is more substantial, consider renting or purchasing a submersible pump to remove the water efficiently. Position the pump at the lowest point of the area and direct the water towards a drain or outside.
Be cautious not to pump water toward areas that could cause additional flooding.
Once the majority of the water is removed, utilize mops, towels, and buckets to soak up any remaining moisture. Open windows and doors to improve ventilation and aid in drying out the space.
Remember to dispose of any contaminated materials properly and sanitize equipment after use to prevent contamination.
Disinfecting the Area
Acting promptly to disinfect the area after removing standing water is essential in preventing the spread of harmful bacteria and pathogens. To effectively disinfect the space, you’ll need to use powerful cleaning solutions and proper sanitizing techniques.
Begin by preparing a mixture of one cup of bleach and one gallon of water. This solution is highly effective in killing bacteria and viruses commonly found in sewage backups.
Before applying the cleaning solution, make certain to wear protective gear such as gloves, goggles, and a mask to prevent exposure to hazardous substances. Start by spraying or applying the bleach solution generously onto all affected surfaces.
Use a scrub brush to thoroughly clean walls, floors, and any items that come into contact with the sewage water. Pay special attention to corners, crevices, and areas with visible stains.
After scrubbing, allow the bleach solution to sit for at least 10-15 minutes to ensure proper disinfection. Once the time has elapsed, rinse the area with clean water and allow it to air dry.
Ventilate the space by opening windows or using fans to aid in the drying process and help eliminate any remaining odors. Remember to dispose of any contaminated materials properly and wash your hands thoroughly after completing the disinfection process.
Drying Out the Space
To effectively dry out the space after a sewage backup, start by opening windows and doors to air out the area.
Remove any wet materials, such as carpets or furniture, to prevent mold growth.
Utilize dehumidifiers to help speed up the drying process and reduce moisture levels in the space.
Air Out the Area
As you focus on drying out the space after a sewage backup, the first vital step is to thoroughly air out the affected area. Proper ventilation techniques are essential to ensure that the air quality in the space improves and to prevent the growth of mold and bacteria.
Open all windows and doors to create cross-ventilation, allowing fresh air to circulate throughout the area. If possible, use fans to increase air circulation and speed up the drying process. Additionally, consider using dehumidifiers to reduce excess moisture in the air, which can help prevent further damage and improve air quality.
During the airing out process, it’s important to wear protective gear such as gloves and masks to avoid exposure to harmful contaminants present in the air.
Keep children and pets away from the affected area until it has been properly dried out and sanitized. By implementing these ventilation techniques and focusing on improving the air quality, you’re taking a significant step towards restoring your space after a sewage backup.
Remove Wet Materials
To effectively tackle the task of removing wet materials and drying out the space after a sewage backup, begin by promptly discarding any items that have been saturated with sewage-contaminated water.
Use removal techniques that prioritize safety and sanitation. Wear protective gear such as gloves, masks, and boots before handling any wet materials to prevent exposure to harmful contaminants.
Start by removing any carpets, rugs, and upholstered furniture that have been soaked. These items are difficult to clean and can harbor bacteria. Dispose of them properly following local regulations for contaminated materials.
Next, focus on removing any drywall, insulation, or other porous materials that have absorbed sewage water. Use sharp utility knives to cut out the affected areas and dispose of them in sealed bags.
Clean and disinfect the remaining surfaces thoroughly using appropriate disinfectants.
Use Dehumidifiers
For effective drying out of the space after removing wet materials from a sewage backup, utilizing dehumidifiers is crucial.
Here’s how you can effectively use dehumidifiers to restore your space:
Choose the Right Type: Select a dehumidifier based on the size of the affected area. For smaller spaces, a portable dehumidifier may suffice, while larger areas might require a whole-house dehumidifier.
Proper Placement: Position the dehumidifier in the center of the room for ideal air circulation. Make sure it isn’t blocked by furniture or other obstacles.
Set the Correct Humidity Level: Adjust the dehumidifier settings to maintain a humidity level between 30-50%. This range helps prevent mold growth and promotes faster drying.
Monitor Progress: Regularly check the dehumidifier’s water tank and empty it when full. Keep an eye on the humidity levels to ensure efficient drying.
Dealing With Contaminated Items
Maneuvering through a sewage backup can be an intimidating task, especially when it comes to dealing with contaminated items. When handling contaminated clothing and hazardous materials, it is essential to prioritize safety and thorough cleaning. Here are some steps to effectively deal with such items:
| Contaminated Items | Steps to Follow |
|---|---|
| Contaminated Clothing | – Wear protective gear such as gloves and masks when handling contaminated clothing. – Remove the clothing carefully and place them in a heavy-duty trash bag. – Wash the clothing separately with hot water and detergent. – Disinfect the washing machine after use. |
| Hazardous Materials | – Identify and separate hazardous materials from the rest of the contaminated items. – Contact your local waste management facility for proper disposal instructions. – Use a disinfectant to clean any surfaces that come into contact with hazardous materials. – Ventilate the area properly to reduce odors and airborne contaminants. |
Repairing and Restoring
Steering through the process of repairing and restoring your space after a sewage backup can be challenging but fundamental for ensuring a clean and safe environment.
Here are some essential steps to effectively repair and restore your space:
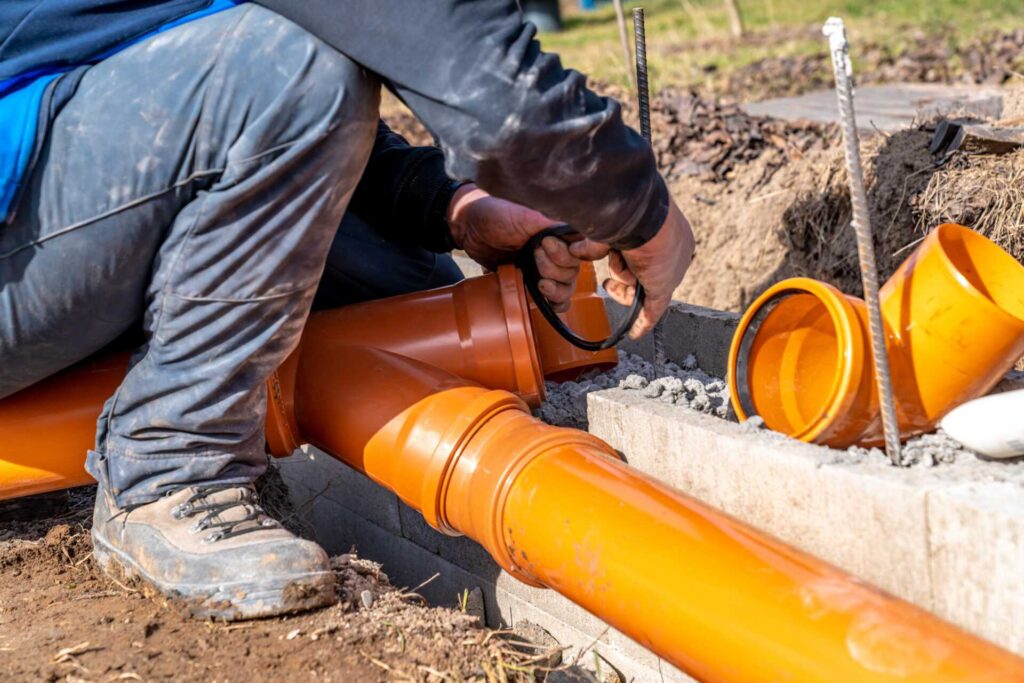
- Inspect and Repair Pipes: Begin by thoroughly inspecting all pipes connected to the sewage system. Look for any signs of damage or blockages.
Replace or repair any faulty pipes to prevent future backups.
- Clean and Disinfect: After fixing the pipes, it’s critical to clean and disinfect the affected area.
Use appropriate disinfectants to eliminate harmful bacteria and odors.
Consider hiring professionals for deep cleaning if the backup is severe.
- Implement Drainage Solutions: To prevent future sewage backups, consider installing backwater valves or sump pumps.
These devices help to prevent sewage from flowing back into your property during heavy rainfall or sewer system overloads.
- Regular Maintenance: Establish a routine maintenance schedule for your pipes and drainage system.
Regular inspections and maintenance can help detect potential issues early on, preventing costly backups in the future.
Preventing Future Backups
Inspecting and repairing your pipes is a critical step in preventing future sewage backups. Regular drain maintenance and plumbing upgrades can greatly reduce the risk of experiencing another messy backup in your home.
Here are some practical tips to help you prevent future sewage backups:
Preventing Future Backups
Drain Maintenance:
- Confirm you regularly clean your drains using a mixture of hot water, vinegar, and baking soda to prevent clogs.
- Use hair catchers in your bathroom drains to prevent hair and debris from accumulating.
Plumbing Upgrades:
- Consider installing a backwater valve to prevent sewage from flowing back into your home.
- Upgrade to larger pipes if you frequently experience drainage issues to improve flow.
Professional Inspections:
- Schedule annual inspections with a qualified plumber to detect any potential issues early on.
- Address any leaks or damage promptly to prevent them from escalating into major problems.
Final Inspection and Cleanup
Upon completing the necessary restoration steps for your sewage backup, the next vital phase is conducting a thorough final inspection and cleanup. This critical step ensures that all traces of the backup are eliminated and your space is safe for habitation once again.
Final Inspection and Cleanup Tips:
- Final Check: Begin by doing a meticulous final check of the affected area. Look for any remaining signs of sewage, including stains, odors, or visible residue.
Use a flashlight to inspect dark corners and hidden spaces thoroughly.
- Disinfection: After the inspection, prioritize disinfection. Use a strong disinfectant to clean all surfaces that come into contact with the sewage backup.
Pay special attention to disinfecting areas like floors, walls, and furniture.
- Ventilation: Proper ventilation is key to making sure all lingering odors are eliminated. Open windows and doors to let fresh air circulate throughout the space.
Consider using fans to aid in the ventilation process.
- Professional Assessment: If you’re uncertain about the cleanliness of your space post-cleanup, consider seeking a professional assessment.
A restoration expert can conduct tests to confirm that your home is free from any harmful contaminants.
Final Thoughts
As you take a final look around your once-flooded space, you breathe a sigh of relief. With determination and guidance, you have successfully tackled the sewage backup issue head-on. Your home is now clean, safe, and restored to its former glory. Through your efforts, you have overcome a challenging situation and ensured the well-being of your family and the longevity of your home. Great job!
Recent Posts
Mastering Biohazard Sewage Cleanup Techniques
Is it really worth the risk to tackle biohazard sewage cleanup without the right techniques?
Top Leak Detection Services for Homeowners
Is it true that most homeowners underestimate the impact of undetected leaks? You might think
What Are Effective Sewage Cleanup Solutions?
You might not realize that improper sewage cleanup can lead to long-term health risks and