
Contents
When you face emergency water damage, you need to act quickly while protecting your insurance claim. Start by documenting the affected areas with photos and videos, then remove standing water as soon as it’s safe to do so. Keep receipts, repair estimates, and records of cleanup work, and notify your insurer promptly. The Emergency Water Damage Insurance Claim process can depend on the cause, policy coverage, and documentation you provide, so keeping a clear record from the start can make a major difference.
Key Takeaways
- Assess the damage first by documenting affected materials, measuring moisture, and identifying porous items that need removal.
- Remove standing water immediately with pumps or wet vacs, working from the wettest areas outward to prevent spread.
- Set up air movers and dehumidifiers to increase evaporation, open hidden cavities, and keep airflow moving across wet surfaces.
- Monitor moisture readings and humidity regularly, comparing results to drying goals and checking hidden areas for lingering dampness.
- Finish only when surfaces, readings, and humidity are stable, then remove equipment and confirm the space is safe and clean.
Assess Water Damage Before Drying Starts
Before you start drying, you need to assess the full extent of the water damage so you can choose the right restoration setup.
In the emergency water damage drying process, you check affected rooms, document materials, and note how far moisture has traveled in walls, floors, and contents.
Use a moisture meter and a hygrometer to verify readings, not guesses.
Identify porous materials that may need removal from surfaces you can still save.
You’ll work faster when you know the loss class and drying goals upfront.
This step helps your team stay organized, protect the structure, and avoid missed wet spots.
When you assess carefully, you create a clear plan that keeps everyone aligned and restores your space with confidence.
Remove Standing Water Fast
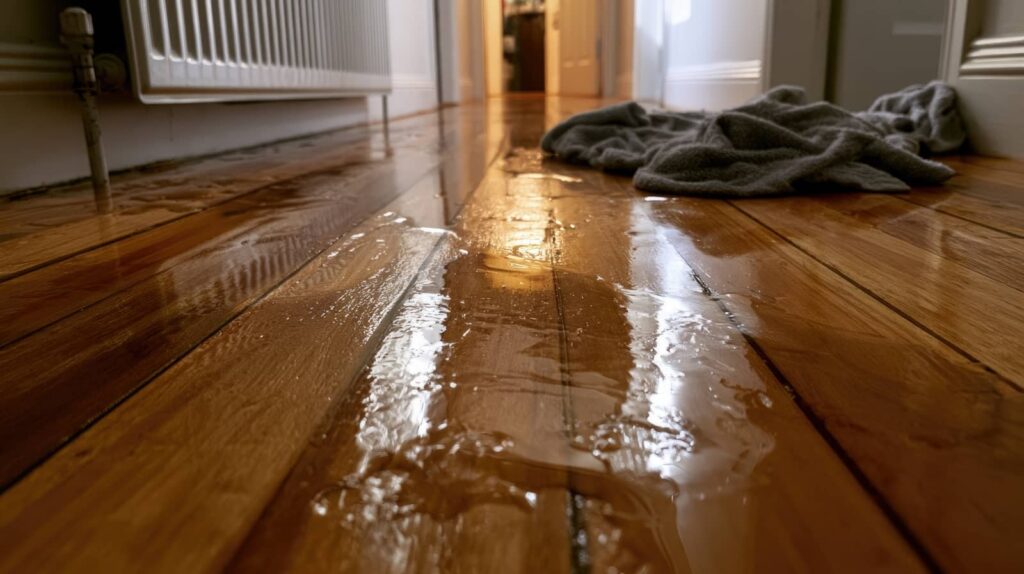
You need to extract standing water immediately with pumps, wet vacs, or a truck-mounted system to reduce saturation fast.
Quick removal limits secondary damage like swelling, microbial growth, and material breakdown.
As you work, check how deep moisture has spread so you can target drying equipment correctly.
Rapid Water Extraction
Rapid water extraction is the first critical step in limiting structural damage and microbial growth after a flood or leak. You need to remove standing water quickly with pumps, wet vacuums, or truck-mounted extractors, depending on depth and access.
Work from the wettest areas outward so you don’t spread contamination. Lift carpet edges, pull away affected padding, and extract moisture from seams and corners where water hides.
If you’re dealing with porous materials, speed matters because they absorb water fast. Keep pathways clear so your team can move equipment efficiently.
Use proper suction and repeated passes until surface water is gone. Fast extraction shortens drying time, supports accurate moisture readings, and helps your restoration crew stay coordinated and confident while you move into the next drying phase.
Prevent Secondary Damage
Once the standing water is out, your next priority is to prevent secondary damage by removing any remaining pooled water fast.
You’ll want to mop corners, lift wet rugs, and dry edges where water hides in seams, under baseboards, and around cabinets. Keep traffic low so you don’t spread moisture into clean areas.
If you’ve got a wet vacuum, use it on tile, vinyl, and sealed concrete to pull up residue quickly. Move furniture off damp spots and place pads under legs to protect finishes.
Open pathways for airflow so moisture doesn’t linger and feed odor, swelling, or staining. Act fast, stay organized, and treat every damp surface like part of the same response team.
Assess Saturation Levels
Before you set up drying equipment, assess how saturated each material is and remove standing water as fast as possible.
You’ll make better calls when you classify surfaces by porosity: tile and metal may only need extraction, while drywall, carpet pad, and insulation can hold deep moisture.
Use a moisture meter, thermal camera, or pin probe to check affected areas, then compare readings to nearby dry materials.
Mark wet zones, lift carpets, and inspect under baseboards, cabinets, and furniture.
If water has wicked above the visible line, treat the material as contaminated until you verify otherwise.
Fast assessment helps your crew work as one, choose the right drying method, and prevent hidden damage.
The quicker you measure, the faster you restore the space safely.
Set Up Air Movers for Faster Drying
Place air movers as soon as the area is safe and the standing water is removed, because they increase evaporation and speed up structural drying.
You should position each unit to push air across wet floors, walls, and baseboards, not straight into one spot. Angle the airflow so it sweeps moisture off surfaces and keeps the room moving. Space the machines evenly, and avoid blocking vents, corners, or furniture.
In larger rooms, create a circular airflow pattern so you don’t leave damp pockets behind. Check cords, outlets, and tripping hazards before you start.
If you’re working with others, agree on placement first so everyone can track coverage and adjust as the area dries. This setup helps your team dry faster and work with confidence.
Use Dehumidifiers to Remove Moisture
Use dehumidifiers to pull excess moisture out of the air and keep evaporation moving.
You should place them in the driest path through the affected space so they can work with your air movers, not against them.
Close windows and exterior doors, then run the unit continuously to lower indoor humidity and help walls, flooring, and framing release trapped water.
Empty or drain the collection tank as needed, or connect a hose for nonstop operation.
Choose a unit sized for the room’s load, and keep filters clean so airflow stays strong.
When you use the right equipment, you speed drying, reduce secondary damage, and stay in control together with your restoration team.
Check Moisture Levels as You Dry
You should check moisture meter readings at regular intervals to track drying progress.
Compare each reading to your target drying goals so you know when materials are within a safe range.
Pay close attention to hidden damp areas behind walls, under flooring, and inside cavities, since they can stay wet after surface materials feel dry.
Moisture Meter Readings
As drying progresses, moisture meter readings tell you whether materials are actually shedding water or just feeling dry on the surface. You use the meter to compare wet areas against unaffected areas, so you can track progress with confidence.
Take readings at the same locations each day, and note the numbers in a log. That record helps you spot slow-drying materials, hidden pockets, and rebound after equipment changes. Press the probes firmly on the same grain line or surface point each time, and keep your technique consistent.
If readings stall, you can adjust air movement, dehumidification, or access. When you work this way, you stay connected to the restoration team’s process and avoid guesswork. Accurate readings keep you focused, informed, and part of the recovery effort.
Target Drying Goals
Target drying goals give you a clear finish line, so you know when materials have returned to an acceptable moisture level. You set those goals by comparing wet readings with normal readings from unaffected areas, then you track progress each day.
Use your moisture meter on the same spots, at the same depth, and at the same time to keep data consistent. Your aim is to see readings drop and then stabilize near the target range. If numbers stall, adjust airflow, dehumidification, or equipment placement.
Keep a simple log so your team can see trends fast and stay aligned. When surfaces match your baseline and feel dry under testing, you can move confidently to the next step.
Hidden Damp Areas
Even when surface readings look good, moisture can stay trapped behind baseboards, under flooring, inside wall cavities, and within insulation.
You need to check these hidden damp areas with a moisture meter, not guess. Slide baseboards carefully, lift small flooring sections when needed, and probe studs, subfloors, and sill plates.
Compare readings to dry standards and to unaffected materials nearby. Keep air movers aimed to drive evaporation from concealed spaces, and run dehumidifiers long enough to pull vapor out.
If readings stall, open access points or remove wet materials so airflow can reach them. Recheck daily, because hidden pockets can rewet adjoining dry areas.
When you track moisture this way, you stay in control and help the whole drying team finish the job safely and efficiently.
Dry Carpets, Walls, and Hidden Cavities
Once standing water is removed, you need to dry carpets, walls, and hidden cavities quickly to stop damage from spreading. You’ll work as a team with air movers and dehumidifiers to pull moisture out of materials and protect the space.
- Lift carpet edges so airflow reaches the pad.
- Aim air movers across walls and baseboards.
- Remove wet insulation if it blocks drying.
- Open access points to cavities behind trim.
- Keep equipment running until materials feel stable.
You should balance airflow and humidity so moisture doesn’t stay trapped inside framing or under flooring.
Check tucked-away areas like toe kicks, wall voids, and subfloors, because they often hold water after the surface looks dry.
When you dry these zones thoroughly, you help your restoration crew restore the room with confidence.
Check When Drying Is Complete
When the materials have reached normal moisture levels, you can start verifying that drying is complete. Check each affected area with a calibrated moisture meter and compare readings to unaffected materials nearby.
You should also inspect subfloors, wall cavities, baseboards, and insulation for any hidden dampness. If you used air movers and dehumidifiers correctly, surfaces should feel dry, and humidity should have returned to normal indoor levels.
Log all readings so you can confirm a stable trend over 24 hours, not just a single dry reading. Look for odors, discoloration, swelling, or cool spots that may signal lingering moisture.
When measurements stay consistent and materials no longer change, you can confidently close the drying phase and rejoin a safe, healthy space.
Frequently Asked Questions
How Long Should I Wait Before Calling a Water Damage Professional?
Call a water damage professional right away, ideally within 24 hours. You’ll reduce mold risk, protect materials, and speed drying. If water keeps spreading, smells develop, or electricity’s affected, don’t wait at all.
Can I Stay in My Home During the Drying Process?
Yes, you can often stay home during drying; for example, if one room’s carpet floods, you might sleep elsewhere while crews run air movers, dehumidifiers, and moisture checks. Follow safety guidance and stay connected.
Will My Insurance Cover Emergency Water Damage Drying?
Usually, you’re covered if the damage stems from a sudden, accidental event. You’ll need to review your policy, document losses, and work with your adjuster. Flooding and gradual leaks often aren’t covered.
How Do I Know if Mold Has Already Started Growing?
You’ll notice mold by musty odors, visible spots, discoloration, or worsening allergies. Check damp drywall, carpet, and hidden cavities. If moisture stays elevated after drying, you’ve likely got active growth and need testing.
What Items Should Be Removed Before Drying Begins?
You should remove soaked rugs, wet padding, electronics, papers, textiles, food, and furniture that blocks airflow. Then you’ll protect salvageable items, speed drying, and reduce mold risk while you monitor moisture levels.
Conclusion
When you finish the last moisture check, don’t assume the job is done yet. Hidden water can still linger behind walls, under flooring, and inside cavities, waiting to cause more damage. Keep monitoring until readings stabilize and materials match normal conditions. Only then should you close the drying phase and move into restoration. If you rush this step, you risk costly repairs later. Stay methodical, stay alert, and let the final numbers confirm it’s truly dry.
Recent Posts
Flood Damage Repair Vs Water Damage Restoration Explained
If a burst pipe soaks your basement overnight, you may need water damage restoration; if
When To Hire Professional Flood Damage Repair Services
If you notice standing water, soaked materials, or a persistent musty smell, you may need
Flood Damage Repair Insurance Claims: How The Process Works
When floodwater hits your home, you need to move fast and document everything before cleanup